
Short answer
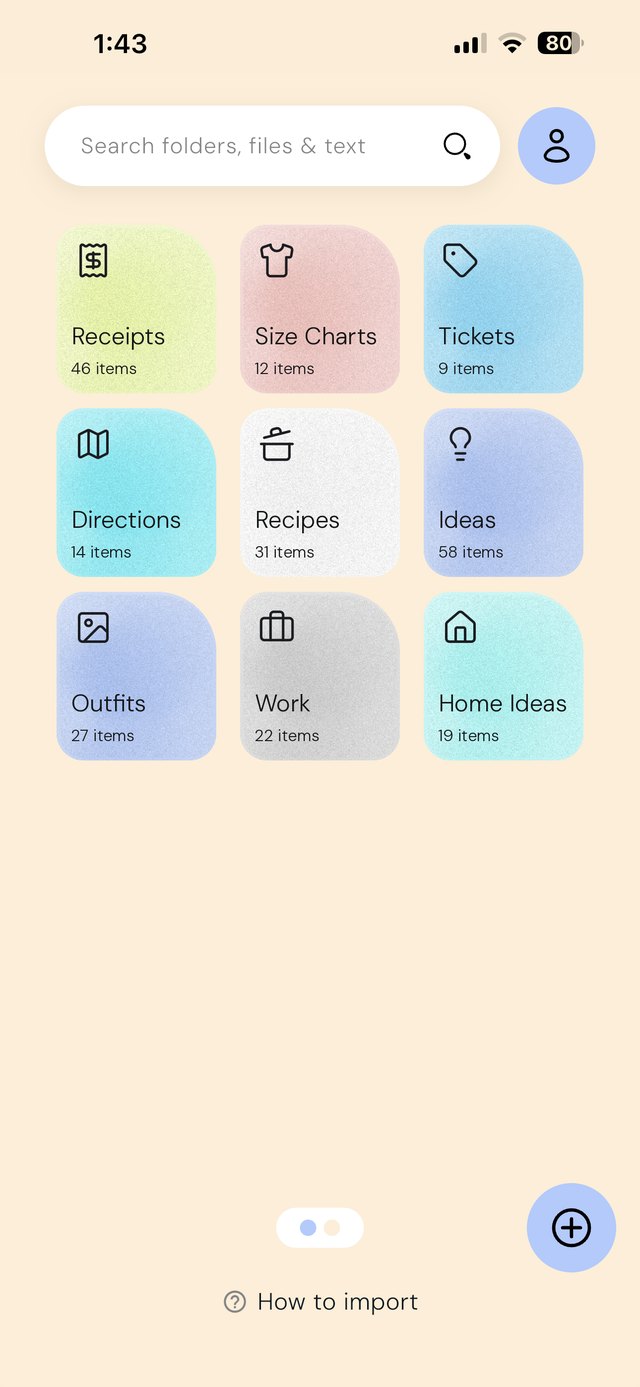
Open Photos, go to Media Types › Screenshots to see every screenshot in one place, and delete the ones you no longer need. Then move the keepers — receipts, tickets, recipes, directions — into folders by purpose. Photos albums can do a basic version; an organizer such as EZ Save keeps them beside related links, files and notes.
Step 1: find all your screenshots
iPhone already sorts screenshots for you. In the Photos app, scroll to Media Types and tap Screenshots. In recent versions of iOS this sits under Collections; in older versions it is under Albums. Apple's guide to finding photos by media type shows the current layout.
Step 2: clear out the junk
Most screenshots were only needed once: a code, a boarding pass from last year, a message you meant to reply to. In the Screenshots view:
- Tap Select, then drag your finger across rows to select many at once.
- Skip anything you still need, then tap the trash icon.
- Deleted items sit in Recently Deleted for about 30 days, so a mistake is recoverable.
Work oldest first. The older a screenshot is, the less likely you need it.
Step 3: give the keepers a home
What is left usually falls into a few groups. Make one folder for each:
You can do this with albums in Photos, and it costs nothing. The catch is that an album only points at the picture: it stays in your main library, and the related link, PDF or note lives somewhere else. In EZ Save, the screenshot goes into a folder with everything else about that topic, such as the receipt screenshot next to the order email PDF and the product link.
How to move screenshots into EZ Save
- Open a screenshot in Photos and tap Share, then choose EZ Save and pick a folder. Or open a folder in EZ Save and tap + to add from your library.
- Add a short note if the reason is not obvious from the picture ("Size M fits in this brand").
- Once it is safely in EZ Save, you can delete the copy from your camera roll.
Before you delete the originals: make sure your EZ Save library is backed up. With Pro, iCloud sync keeps a copy in your own iCloud. Without it, the screenshot only lives in the app on that device.
Stop the pile from growing back
- When you take a screenshot you will need again, share it to a folder straight away from the preview in the corner.
- If it was a one-off (a code, a quick reference), delete it the same day.
- Once a month, open Media Types › Screenshots and clear anything older than a few weeks.
Searching your screenshots
Photos can search for text inside images, so typing a word that appears in a screenshot often finds it. EZ Save does not read text inside images, so name your folders clearly and use folder notes for the details you will search for later.
Frequently asked questions
Where are all my screenshots on iPhone?
How do I delete lots of screenshots at once?
Can I stop screenshots going into my camera roll?
Are albums enough to organize screenshots?
Can EZ Save find text inside my screenshots?
Keep the screenshots that matter
Sort receipts, tickets, recipes and ideas into private folders, next to the links and files that go with them.